Adapted from this Feasting At Home recipe

[8 am] Twelve hours before mixing your dough, feed your sourdough starter, leaving it out on the counter making sure it doubles in size within 6 hours. Or, if you keep your starter in the fridge and fed it in the last 7 days- it is OK to use it straight from the jar, cold, without feeding. Best to use starter after it peaks, when it is “hungry”.
[8:00 pm] Weigh-out the starter and water in a bowl first and mix. Then add the salt and flour incorporating all ingredients using a wood spoon. Mix for about 1-2 minutes, it will be hard to mix.
[8:20 pm] With one wet hand (put a bowl of water next to you) pull the dough from one side and stretch it upward, then fold it up and over to the center of the dough. Quarter turn the bowl and repeat, stretching up and folding it over the middle, repeat for about 30 seconds or until the dough gets firm and resists.
Cover the bowl with plastic wrap to keep the moisture in, and place it on your kitchen counter for 8-12 hours. 68-70F is the ideal temp.
[6-8 am] Check the dough in the morning. The dough should have expanded, with a slight springy dome to the top. It won’t necessarily double in size ( maybe 1.5 -1.75 times bigger) but will have expanded.
Prepare a second high-sided bowl by spraying a little cooking-oil inside to prevent sticking.
Loosen the dough from the all edges of a bowl with using your wet fingers, sliding down the sides of the bowl. With both wet hands, carefully pull the dough straight up, in the middle and lift it, stretching straight up in the air, about 1-2 feet and place it back down, gently folding it on top of itself. In this first stretch, the dough may feel quite loose and runny. It should firm up as it stretches and folds. After the first stretch, give the bowl a quarter turn, wait 30-60 seconds, wet your hands again and stretch it up high again, folding over itself in the bowl. Wait 30-60 seconds. (You could repeat this one more time, 15 minutes later). Then, the third time you lift and stretch, you will lift it all the way into your second bowl, folding over itself like you’ve been doing.
Place the bowl in the refrigerator for one hour uncovered which will firm up the bread, and make scoring easier and help boost “oven spring”. It won’t rise in the fridge. You could also keep it in the fridge for 3-4 hours if you want to bake later. Preheat the oven for 1 hour to 500F with your dutch oven and lid inside.
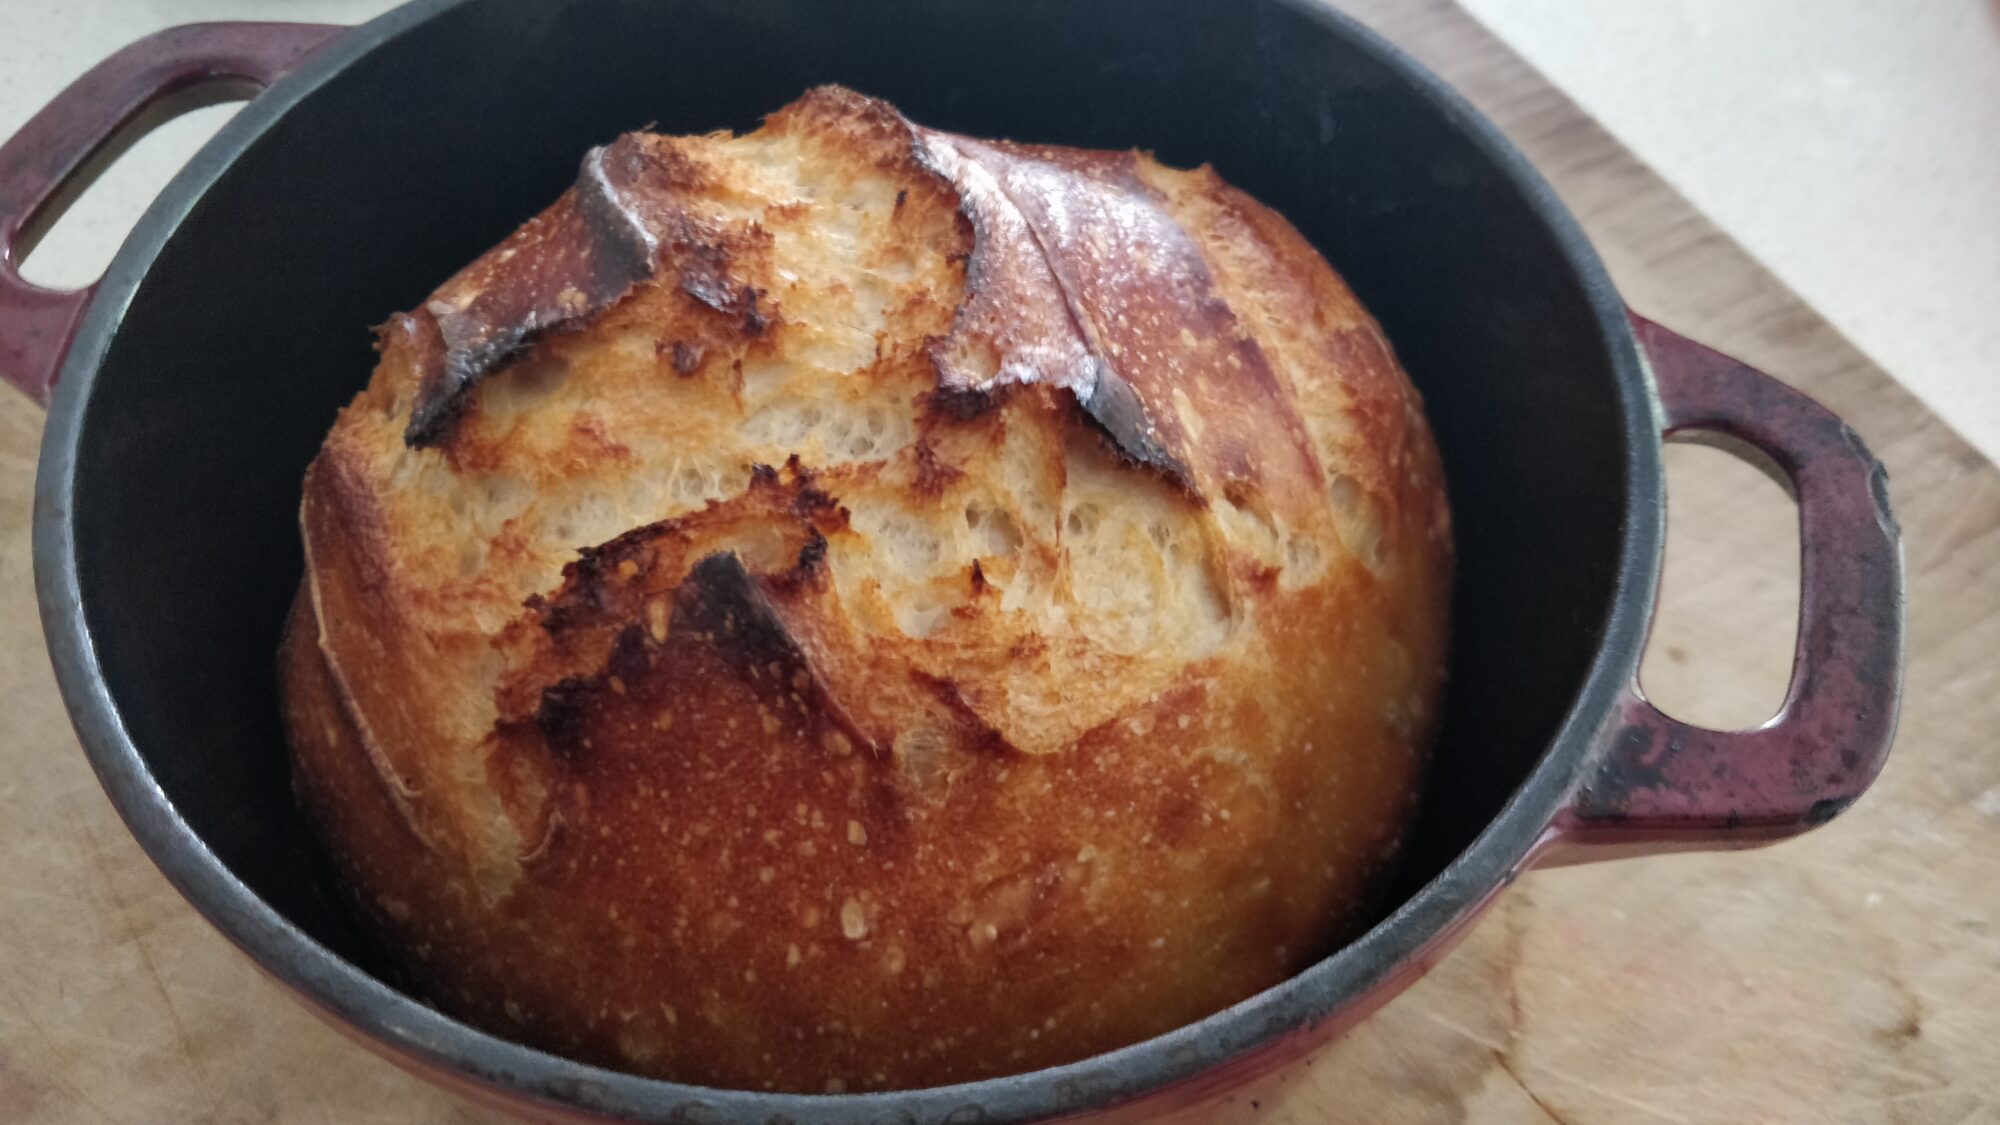
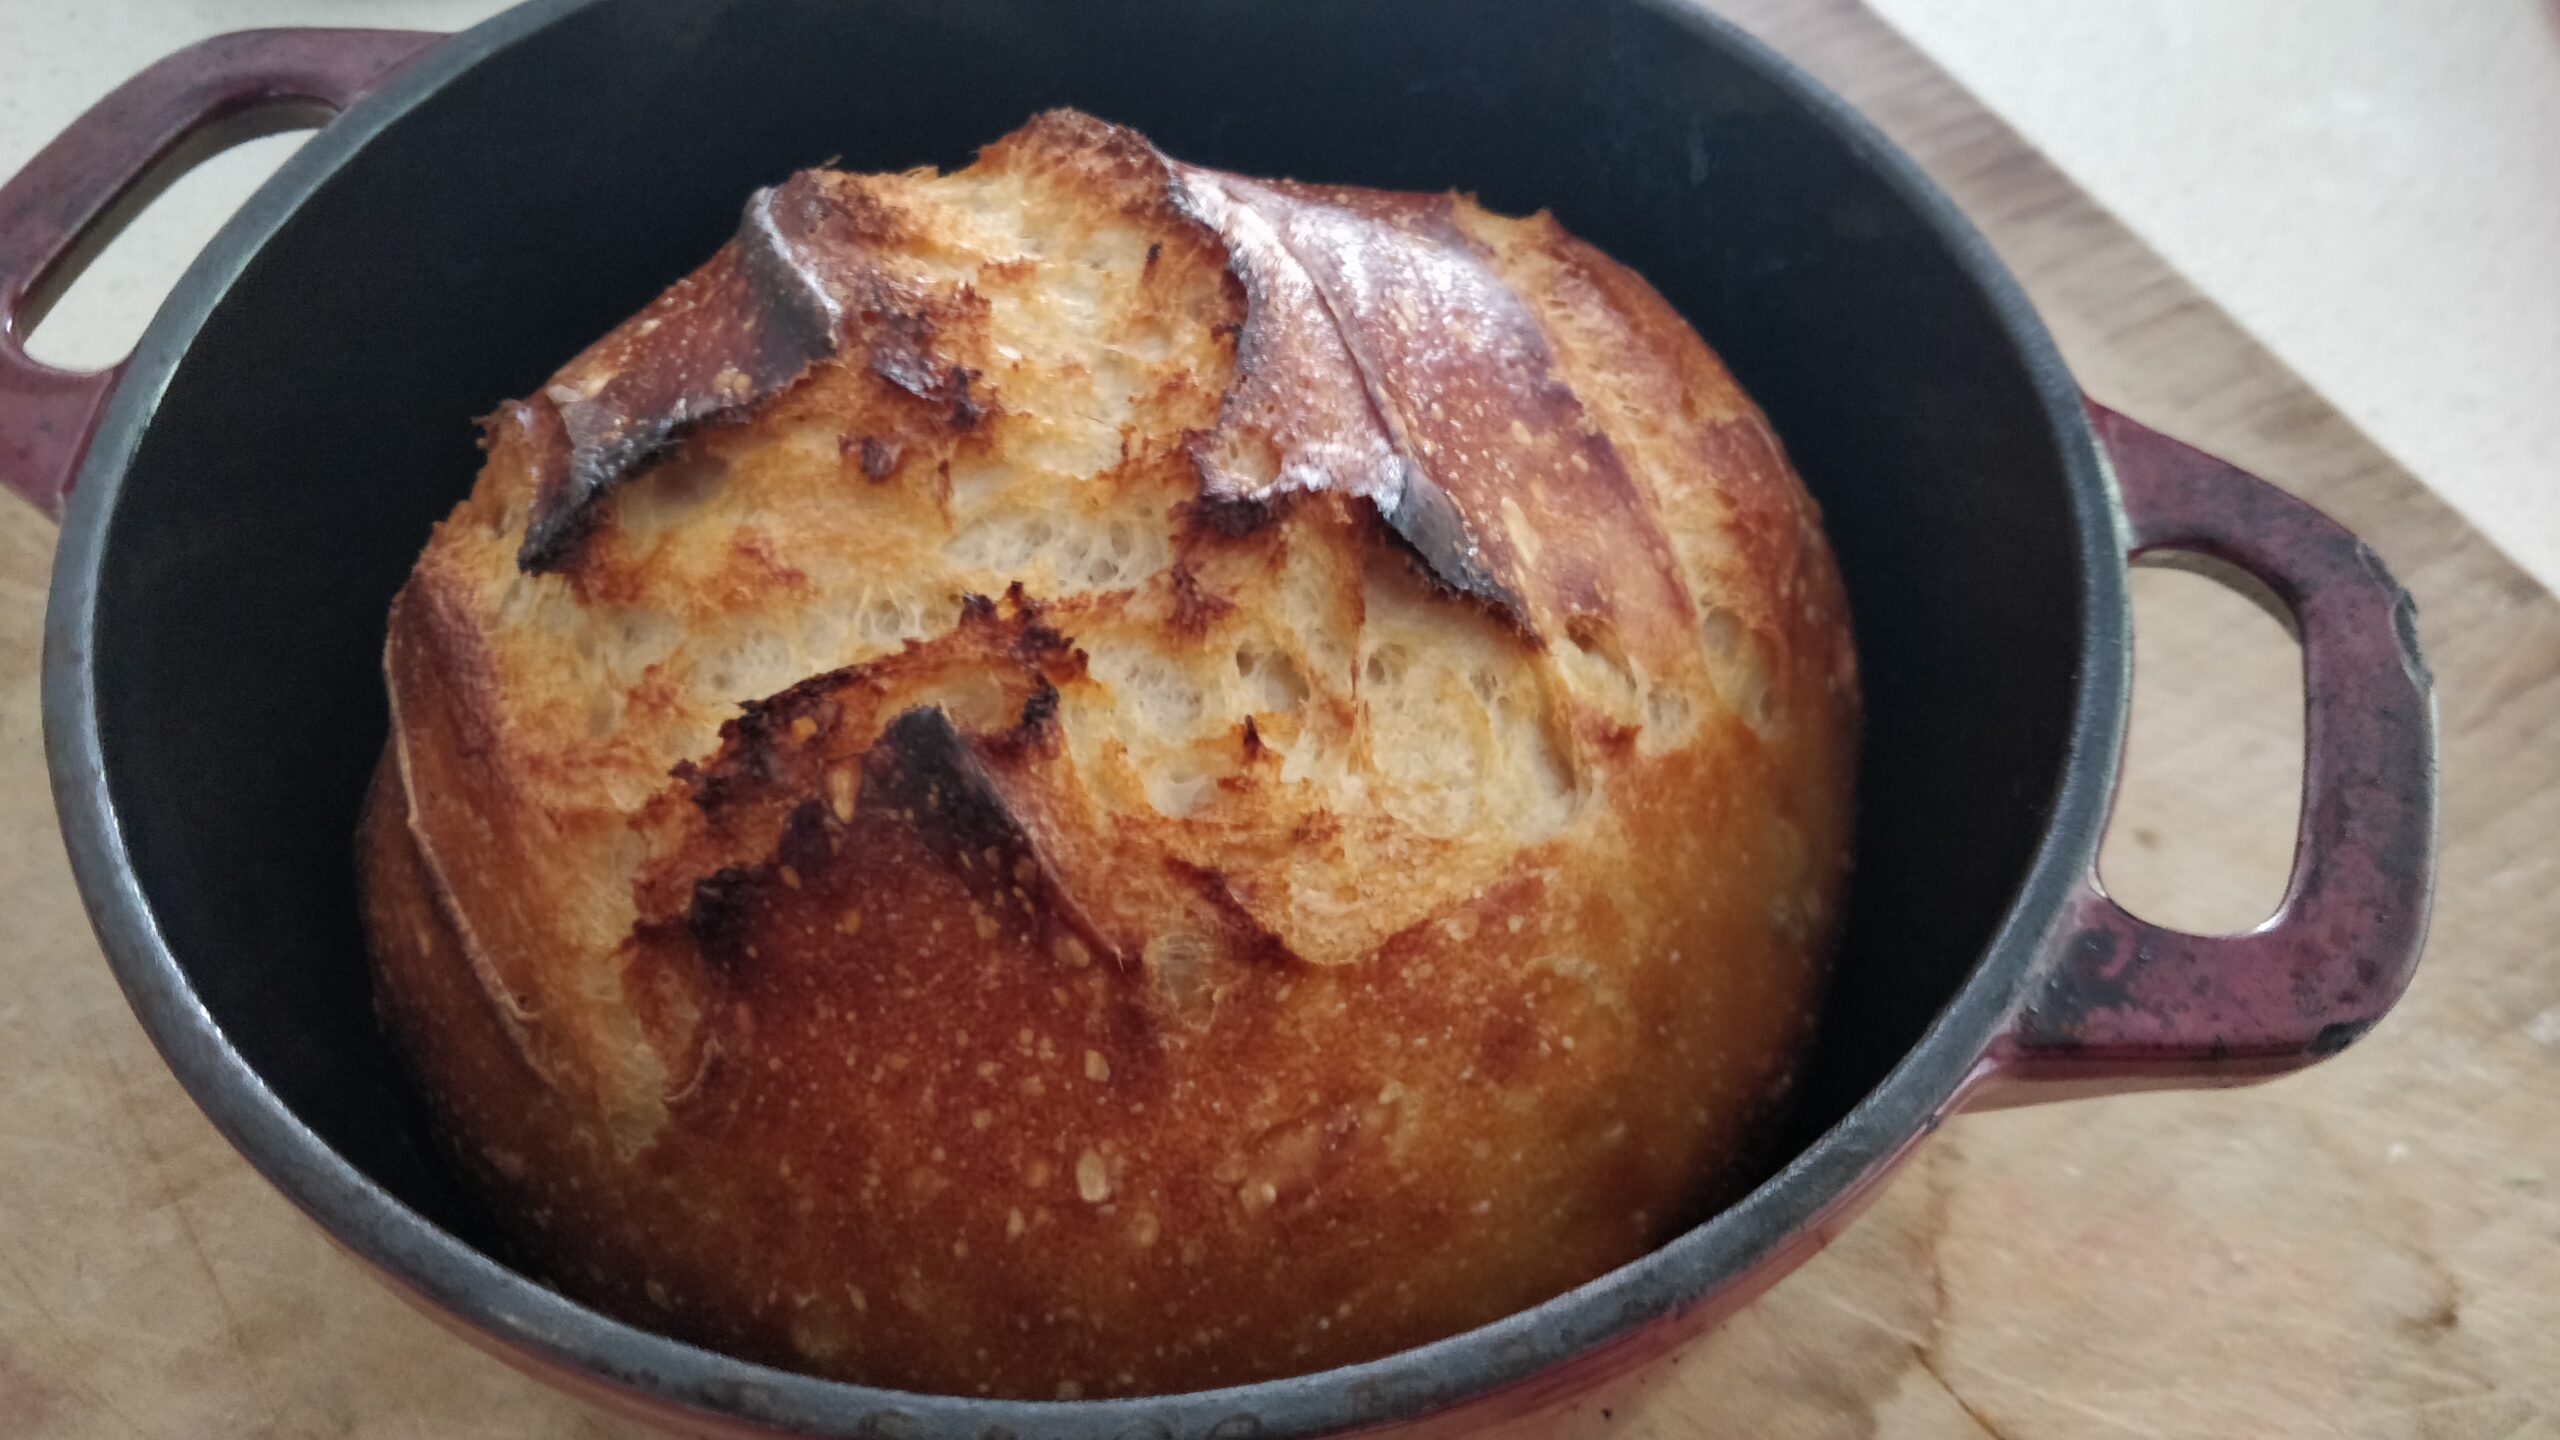
When ready to bake, place dough by the stove. Using wet fingers, carefully lift the bread out of the bowl and place in heated dutch oven. Score the bread in the bowl using scissors dipped in cold water. One or more 3/4-inch deep cuts will allow the dough to puff out. Cover quickly.
Place dutch oven in the middle of the 450F oven for 30 mins with the lid on. At the end of this time, the crust should be deeply golden and internal temperature of 204 to 208F. Reduce the heat to 400F and remove the lid for an additional 15 mins to darken the bread further.
Remove from the dutch oven, let it cool 1 hour on a rack.

